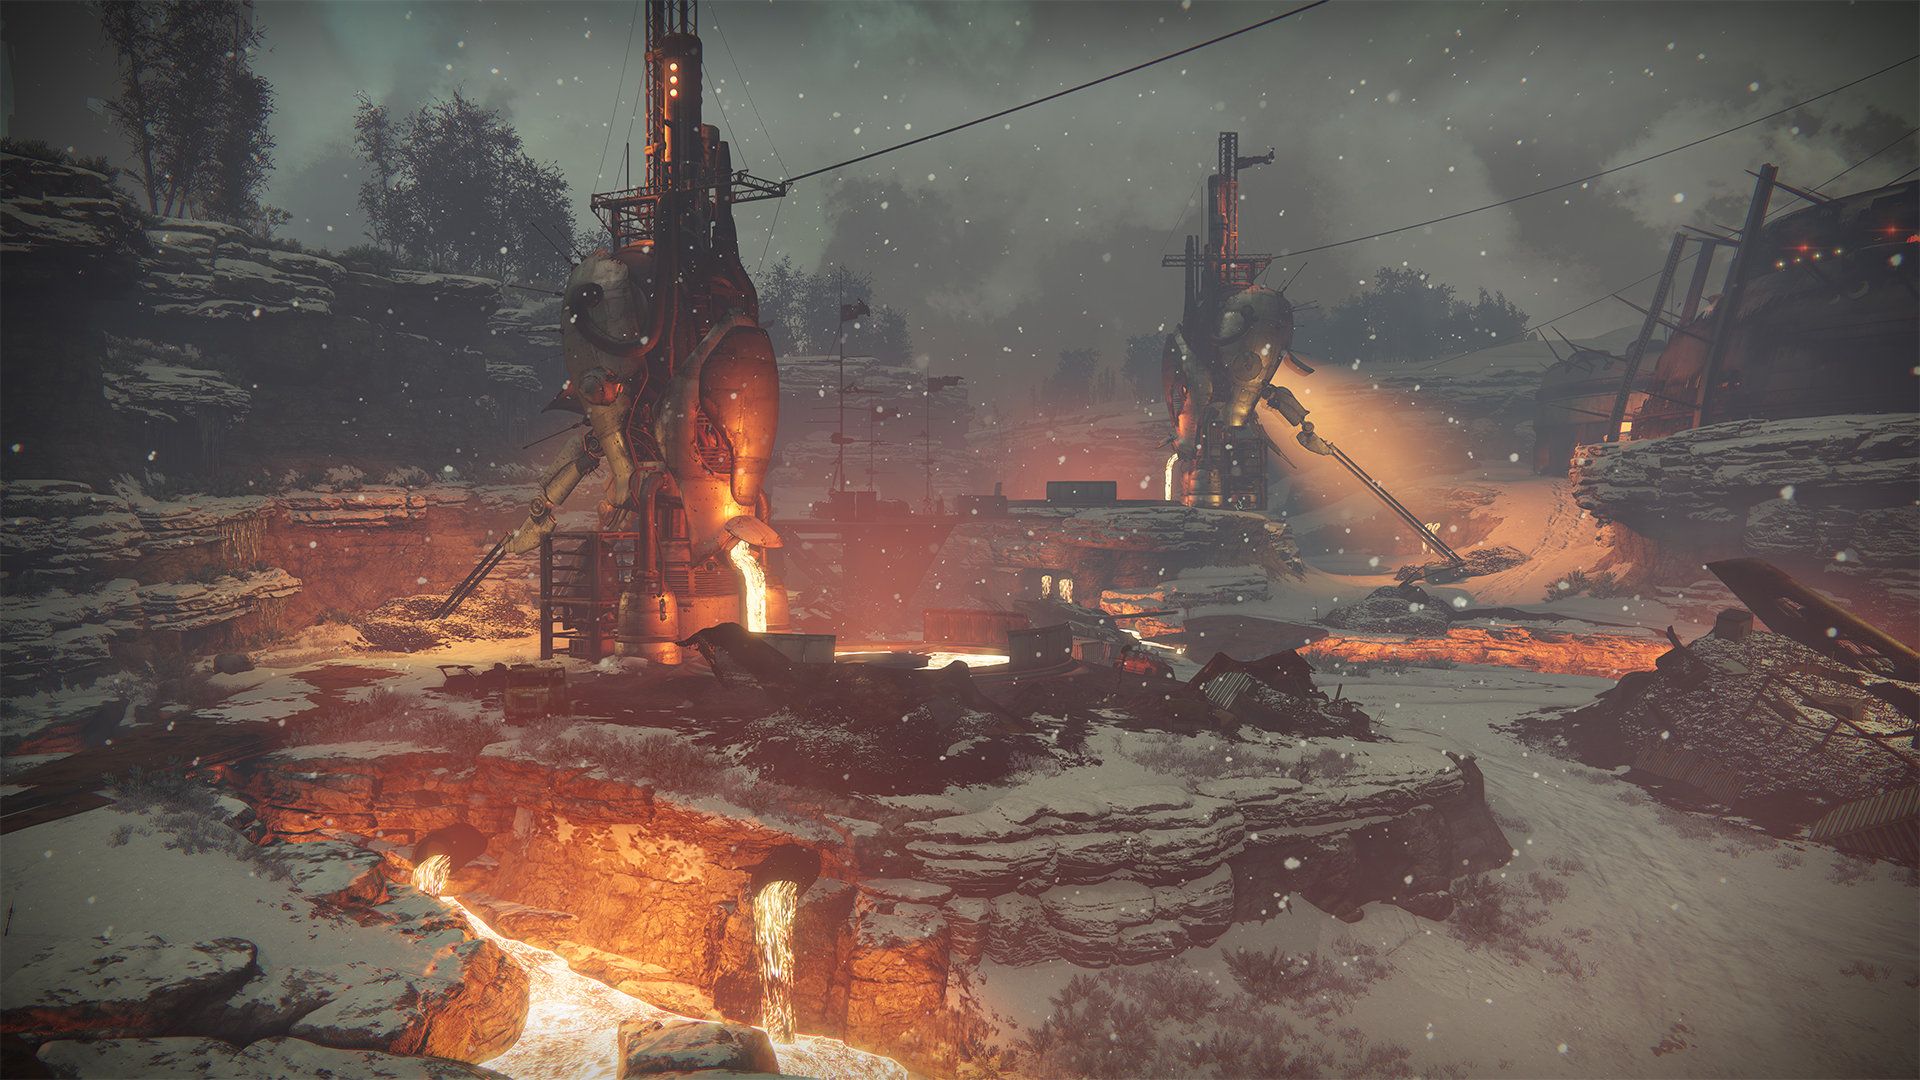
Destiny: Rise Of Iron, the fourth and final premium expansion planned for Bungie’s shared-world shooter, is now available on PlayStation 4 and Xbox Live, bringing new trials and challenges for the community to complete. And one of the most time-consuming tasks to hit Destiny this month is tracking down the Dormant SIVA clusters spread throughout the Plaguelands.
But it doesn’t have to be that way. If you’re trying to round up all the Dormant SIVA Clusters, and get one step closer to finishing all of the new content in Destiny: Rise Of Iron, you’ve come to the right place. We’ve rounded up location information for nearly two dozen Dormant SIVA Clusters, including the entire Clovis Bray and Iron Lords sets, and will continue to update the page as the Destiny community reveals the rest of the set.
Dormant SIVA Clovis Bray 1.0
Mission: “The Iron Tomb”
Location: Once you reach Archon’s Forge, head to the left side of the room and look for a ledge pretty high up off the ground. Use the environment, and your platforming skills, to reach the raised area then head down the hallway to claim a Dormant SIVA Cluster.
Dormant SIVA Clovis Bray 1.1
Mission: “The Iron Tomb”
Location: While traveling between Lords’ Watch and Giant’s Husk, look for a path on your right that leads to water. Once you reach the shoreline, turn right and make a beeline for the boat in the back corner of the alcove. The next Dormant SIVA Cluster is waiting at the front of the ship.
Dormant SIVA Clovis Bray 1.2
Mission: “The Iron Tomb”
Location: About halfway through the mission the player will be tasked with reversing the cores of generator(?) inside the Splicer fortress. Before completing that objective, head to the right side of the room and look for a black pyramid against the wall. The third Dormant SIVA Cluster waits nearby.
Dormant SIVA Clovis Bray 1.3
Mission: “The Walls Come Down”
Location: Don’t head through the wall when the mission begins. Instead, mop up the Fallen waiting for you at the start of the mission and then jump down into the snow-filled ditch nearby. Follow it all the way up to the wall and look for the small bit of red light in the wreckage to claim the next Dormant SIVA Cluster.
Dormant SIVA Clovis Bray 1.4
Mission: “The Plaguelands”
Location: After departing the Lords’ Watch, look for the SIVA infestations nearby. Skip the first growth and check the area below the second to find the next Dormant SIVA Cluster.
Dormant SIVA Clovis Bray 1.5
Mission: “The Plaguelands”
Location: Once you reach Bunker Triglav, head to the top of the watchtower near the center of compound. You’ll find the sixth Dormant SIVA Cluster behind a computer in the observation room.
Dormant SIVA Clovis Bray 1.6
Mission: Plaguelands Patrol
Location: Head back to Bunker Triglav. This time, enter the large building on the left side of the facility. Make your way up to the third floor and you’ll find the seventh Dormant SIVA Cluster on a ledge sticking out of the ceiling.
Dormant SIVA Clovis Bray 1.7
Mission: Plaguelands Patrol
Location: Head to the Rocketyard and look for the frozen pond with a small bridge stretching across it. Locate the SIVA infested room nearby, which doubled as an enemy spawn point in vanilla Destiny, head inside and grab the eighth Dormant SIVA Cluster off the table in the corner of the room.
Dormant SIVA Clovis Bray 1.8
Mission: “The Plaguelands”
Location: One of the last objectives in “The Plaguelands” is to disable several anti-air guns that have been restored by Splicers and/or SIVA. Save the far-right emplacement for last. Once you’ve taken all three offline, climb up onto the bunker and you should be able to see the next Dormant SIVA Cluster waiting on top of gun.
Dormant SIVA Clovis Bray 1.9
Mission: “The Walls Come Down”
Location: Make a beeline for the ketch waiting near the wall as soon as the mission starts. Enter the massive ship, take the stairs up to the second level and look for the final Clovis Bray Dormant SIVA Cluster on the floor, between two pipes, on the right side of the room.
Dormant SIVA Iron Lords 2.0
Mission: “The Walls Come Down”
Location: Once you reach The Divide, look for the downed Devil Walker in the middle of the clearing. The first Dormant SIVA Cluster from the Iron Lords set can be found on the side of the disabled tank.
Dormant SIVA Iron Lords 2.1
Mission: “The Walls Come Down”
Location: Hopefully you haven’t left The Divide yet. Find the large Russian Federal Bureau of Aeronautics (PФБA) cylindrical structure with a broken overpass stretched over it. Climb on top of the destroyed cylinder nearby, launch yourself up towards the red light on the bottom of the overpass and be ready to hold the Square/X button as soon as you get in range. You’ll have to claim the Dormant SIVA Cluster before falling back to the ground.
Dormant SIVA Iron Lords 2.2
Mission: “The Walls Come Down”
Location: We’re heading back to The Divide again. This time, once you reach the area, head back inside Dock 13 as if you were headed back to main area of the Cosmodrome. Follow the hallways until you reach a large, open area, where you encounter several Fallen in the base game, and immediately turn left once you step inside the room. Check the grate in the corner for the next Dormant SIVA Cluster.
Dormant SIVA Iron Lords 2.3
Mission: Plaguelands Patrol
Location: Head to The Blast, where you fought the Devil Walker in the old version of the Devils’ Lair strike, and check the back right corner of the platform where the tank stays throughout the fight. You’ll find a Dormant SIVA Cluster attached to a support beam.
Dormant SIVA Iron Lords 2.4
Mission: "Sepiks Perfected" (Strike)
Location: This time you’ll actually need to enter the Devils’ Lair strike. Just make sure you’re entering the version tuned for Light level 320+, which you may or may not have already visited for the Sepiks Perfected quest. Once you reach The Blast, head into the room left of the area where you battled the tank, follow the stairs up to the second floor, kill the enemies waiting inside and then check the back left corner of the room for the next Dormant SIVA Cluster. This cluster is also accessible from “The Plaguelands” if you have a Splicer Key.
Dormant SIVA Iron Lords 2.5
Mission: Plaguelands Patrol
Location: We’re headed back to The Blast (yes, again) and back into the same room on the left side of the area where you encountered the Devil Walker. This time, instead of taking the stairs behind the lasers, take the stairs on your left and continue to follow the path until you reach the Refinery. Drop down and follow the right wall, through the door at the end, until you see a downed spaceship on your left. Head inside the ship and you’ll find the next Dormant SIVA Cluster on the backside of the pillar.
Dormant SIVA Iron Lords 2.6
Mission: “The Iron Tomb”
Location: After reaching Site 6, players will be asked to drop down into an underground cavern. Once you’ve landed safely, turn around and follow the ledges, opposite of the door you were told to go through, until you reach a cave with another Dormant SIVA Cluster.
Dormant SIVA Iron Lords 2.7
Mission: “The Iron Tomb”
Location: Once you’ve reached the final chamber of “The Iron Tomb”, and survived everything thrown at you by the Darkness, check behind the leftmost pillar to find yet another Dormant SIVA Cluster.
Dormant SIVA Iron Lords 2.8
Mission: “The Iron Tomb”
Location: Third time’s a charm, right? Before scanning the computer in Site 6, to break into the Splicer fortress, check behind the large tv/monitor mounted above the console (to the left) for the sixth (and hopefully final) Dormant SIVA Cluster hidden in “The Iron Tomb”.
Dormant SIVA Iron Lords 2.9
Mission: “King of the Mountain”
Location: After escaping the gondola, walk straight down to the cliff and look for a ledge below and to the right of the player. The final Iron Lords Dormant SIVA Cluster should be pretty easy to spot.
Dormant SIVA Fallen 3.0
- Mission: "King of the Mountain"
- Location: Things get a lot more difficult when it comes time to start collecting the Fallen set. Play the first mission until you reach an outdoor area where you're warned about incoming reinforcements. Remain on the staircase and jump onto the dropship that approaches. Position yourself near the front and wait for the ship to approach the nearby tower. Once it gets close, jump towards the gap in the railing that rings the structure. The first Fallen Dormant SIVA cluster is attached to the central pillar.
Dormant SIVA Fallen 3.1
- Mission: Felwinter Peak
- Location: If you haven't heard yet, players can climb Felwinter Peak after they've unlocked the Iron Temple. It's a rough journey, so we'd recommend tracking down a YouTube video before attempting it yourself, but you'll find the next Dormant SIVA cluster waiting for you at the peak.
Dormant SIVA Fallen 3.2
- Mission: "Download Complete"
- Location: After dropping down the elevator shaft, head into the main chamber straight aheand and straight to the massive computer terminal -- yes, the same one you found a Dead Ghost behind -- on the right side of the room. Check behind the center-facing monitor on the upper-half of the terminal for another SIVA cluster.
Dormant SIVA Fallen 3.3
- Mission: "The Wretched Eye" (Strike)
- Location: There are two Dormant SIVA clusters that are only accessible while completing "The Wretched Eye". The first is found when the player reaches the silos. head into hte blue room and you'll find the cluster in a storage box
Dormant SIVA Fallen 3.4
- Mission: "The Wretched Eye" (Strike)
- Location: The second Dormant SIVA cluster in "The Wretched Eye" is found at the top of a jumping segment near the end of the mission. We could try to describe it but we're probably just going to confuse everyone involved. The easiest way to track this one down is definitely watching a video.
Dormant SIVA Fallen 3.5
- Mission: "Sepiks Perfected" (Heroic)
- Location: From what we can tell, this is the first SIVA cluster to require participation in a Heroic run. Run past Sepiks, using the path on the left side, until you reach the bottom of the grate that acts as a ramp between building and the ground. Step off the grate, turn around and look just under the lip of the metal to find your sixth Fallen Dormant SIVA cluster.
If you’d prefer a visual reference, YouTube user Esoterickk has a playlist featuring video guides for 25 of the Dormant SIVA Clusters introduced in Destiny: Rise Of Iron.
Destiny: Rise Of Iron is now available on PlayStation 4 and Xbox One.
Be sure to check back with iDigitalTimes.com and follow Scott on Twitter for more Destiny news throughout 2016 and however long Bungie supports Destiny in the coming years.


