Have you already got WWE 2K17 and want to get started creating custom wrestlers, arenas and more? Of course you do, but the process can be a little tricky. Don’t worry, we’re here to help.
Logo Upload
To get started with the logo upload process, you’ll first have to turn on WWE 2K17. From here, go to WWE Creations in the main menu, then to WWE Community Creations. Once here, look for a Logo Manager. You’ll be given the opportunity to generate a token, so generate one.
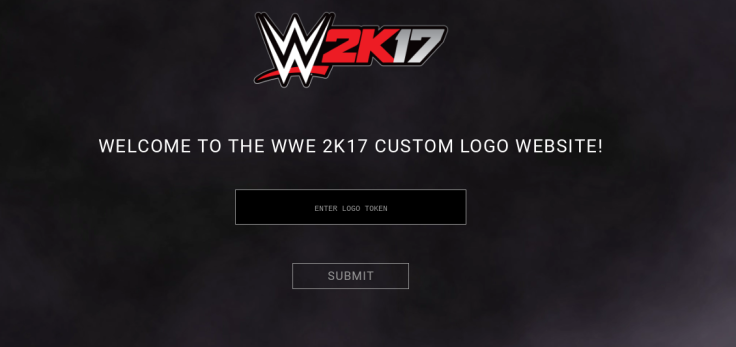
Now, log on to the WWE 2K17 Logo Upload website and enter the token information you were given by your game. You’ll be taken to a menu where you can upload images based on their dimensions. You can also upload your face picture here for the Create A Wrestler.
The Logo Uploader only supports .jpg, .png and .tga file types.
Images uploaded in the Logo Uploader can be used for everything from clothing to custom videos to the logo in the middle of a ring.
Once you’ve uploaded all the images you want, go back to WWE 2K17 and get back to the Logo Manager. You should be able to view your logos here and can delete them if you want from your game.
If you want to use a popular image, like the new SmackDown Live logo or the Ring of Honor logo, give the Downloads section a quick glance. Many popular images are already going to have been posted, so you can save yourself a step.
So what do you think? Are you going to go crazy, uploading as many custom images as you can? Do you think you’ll stick to downloading other people’s creations? Let us know your thoughts in the comments section below.


