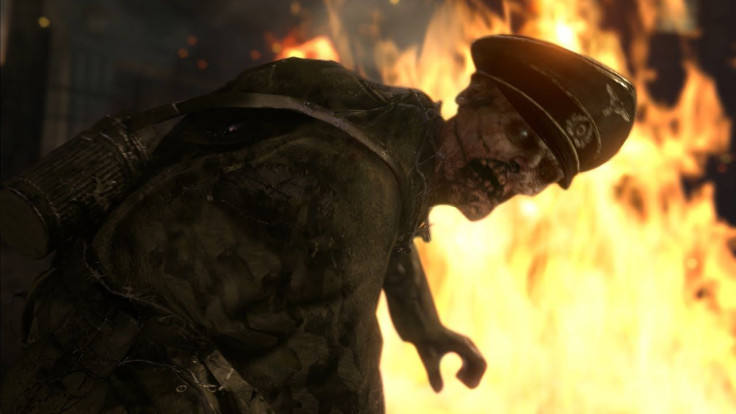
Call Of Duty: WWII Nazi Zombies begins with a chapter called “The Final Reich,” and its got two possible Easter egg paths, depending on your skill level. In this guide, we’ll outline all the steps required to get the Casual and Pack-A-Punch rewards.
While it’s possible to complete both Easter eggs as a solo player, our recommendation is to get a squad of four players. Also, if you’re doing the Casual Easter Egg, you can hit the touchpad to illuminate key locations or objects if you get stuck.
Turn On The Power
Once you leave spawn, look at the ground on the courtyard and you’ll see tubes that direct you to three valves. Once each valve is on, the pilot light is in the center of the map near the big pit. Watch out for the explosion!
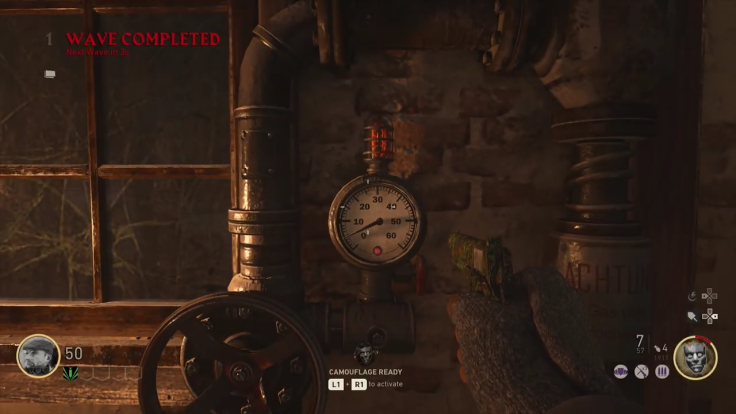
In the sewers, interact with the generator to power it up. If you’ve killed enough zombies, you should have the points required to pass through to the Bunker. The path opens up to a large central room with three doors to the Lab, Morgue and Salt Mine. There’s a power panel in each location. Once you turn the first one on, the remaining two must be activated quickly. If you’re in a group, send one player down each route. Time to enter the Salt Mines.
Pack-A-Punch
Before you do that, you may want to soup up your weapons with some Pack-A-Punch. Jump down the hole you blew open and turn around. Behind you is a door that opens with a circular mechanism.
Follow the path and take a slight right towards the cage. Hit the big red button in the room to unlock transportation tubes. The first is to the right in the command room. At the end of each tube is a button you must press. The second tube is behind spawn and the third is on the wall in the electric room with a generator, the Electric Cherry perk and the Quick Reload perk. The cage in the main room will open once all three are pressed.
The Tesla Gun
At the end of the Salt Mines, you’ll come to the massive, creepy altar. Examine the Hilt of the statue as required by the quest log and kill zombies within the red circle that spawns. Keep doing it until you see the device glow a different color and start moving upward.
Go back to the Control Room with the power switches, and use the crank in the center of the space to levitate all the way up to the ceiling. Once the lights go out, bring the device to the Lab and Morgue to get each piece of the Tesla Gun. Kill Zombies in the red circle to keep the device going.
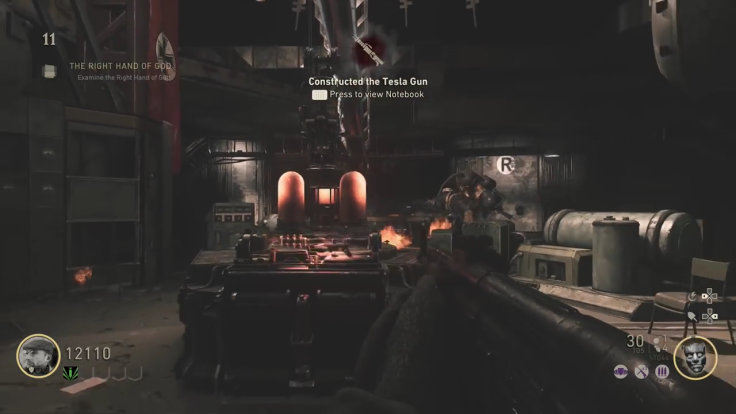
With both pieces of the Tesla Gun in hand, you’ll encounter a flaming Zombie in the Control Room. Take it down and leave the Zombie head behind for now. Moving up to the second floor of the control room will bring you to the Tesla Gun machine.
The Right Hand Of God
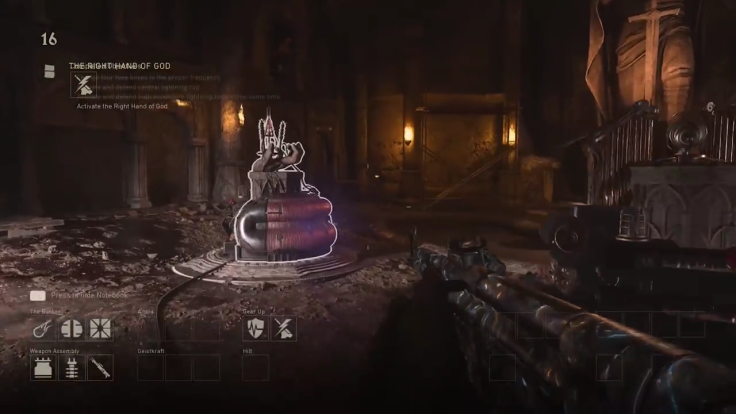
Interact with the device on the left side of the altar, which would be the statue’s right hand. Go back to the Control Room and hit the breaker panel right behind the Tesla gun machine. You’ll see four colors display. Make note of the colors and their order, because these relate to four panels that must be turned on in the order suggested by the display. It’s different for every round.
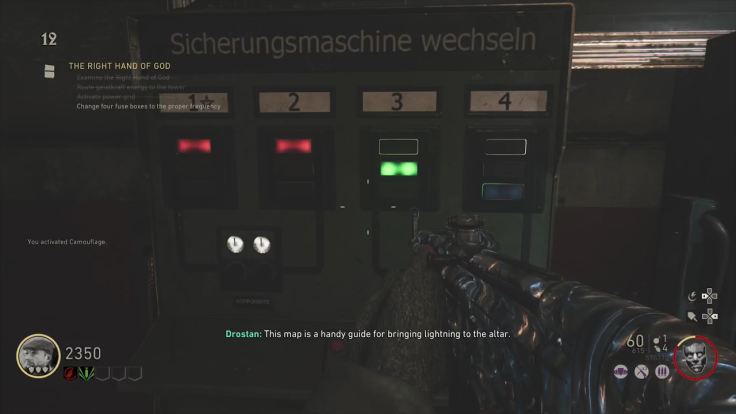
- The first panel is immediately to the right of the breaker.
- The second panel is on the path headed towards the Morgue.
- Panel 3 is near the river outside.
- The fourth panel is near the pub entrance.
Again, if you’re doing the casual Easter egg, the highlight feature can be helpful here.
The Lightning Rod
The previous task will have put you near the tower, and you’ll need to spend some points to get through the gate. Activate the device in the middle of the area ahead and be ready to defend it from a huge herd of nasty foes. Do this for a bit, and you’ll be directed to two more devices on the right and left sides of the tower. You must defend side one from a wave of zombies.
Examine the Left Hand Of God in the altar area to get to that part of the Easter egg.
The Left Hand Of God
Once you’ve activated the left hand, you’ll be greeted by a Zeppelin outside. Shoot its orange and red lights and a generator will drop. Head to where the generator falls and kill Zombies in the red circle to charge it. Eventually it’ll explode, leaving a battery behind. Bring the battery to the Left Hand Of God. Rinse and repeat three times.
The Voice Of God
You should’ve left the Zombie Head in the Control Room, so now it’s time to get it and pick it up. Pressing the left trigger will make it glow. You need to bring the head to four paintings. Here’s where you’ll find them:
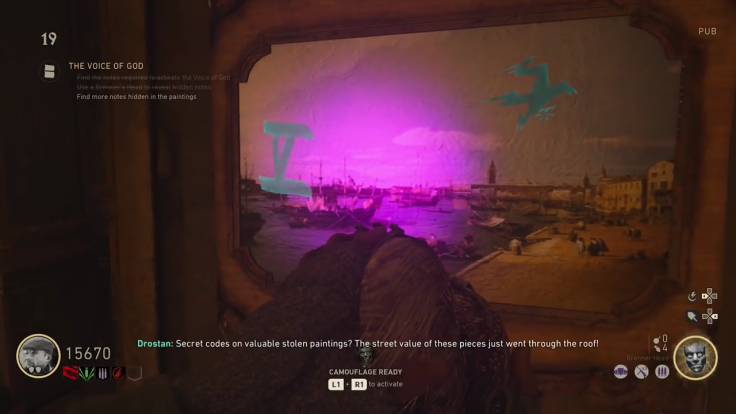
- In the Mortuary area on the stairs
- In the courtyard near the river
- In the Sewers near the weapon upgrade cage
- Near the tower entrance.
The locations are also marked with the highlight feature.
When you aim the head at the paintings, you’ll see a roman numeral from I-V and a style of Raven. The Ravens face up, left, down or right. Once you’ve got the numerals and Ravens memorized, go to the altar room.
Enter the numbers into the central machine marked by Ravens. Once the device is properly activated, get ready for a boss fight.
The Panzermorder Boss
All players must shoot the hilt in the altar room with the Tesla Gun at the same time. Once you do this, you’ll be fully locked into the Casual Easter Egg objective. If that’s not what you want to do, read our Hardcore Easter egg guide.
Just like before with the Zeppelin, shoot the red light, it drops a generator that must be charged by killing zombies in the marked radius. With battery in hand, unload on the Panzermorder until the message that he’s stunned appears on-screen. While stunned, take the battery to him. Rinse and repeat three times until he’s dead.
Call Of Duty: WWII is available now on PS4, Xbox One and PC.
That’s all you need to unlock the “Fireworks” trophy for the Casual quest. If that’s not enough, you can also try our guide for the Hardcore Easter egg here.
- Action-packed campaign
- Traditional multiplayer at its best
- A more welcoming Zombies mode
- Predictable story
- Small multiplayer maps
- Post-launch server issues


