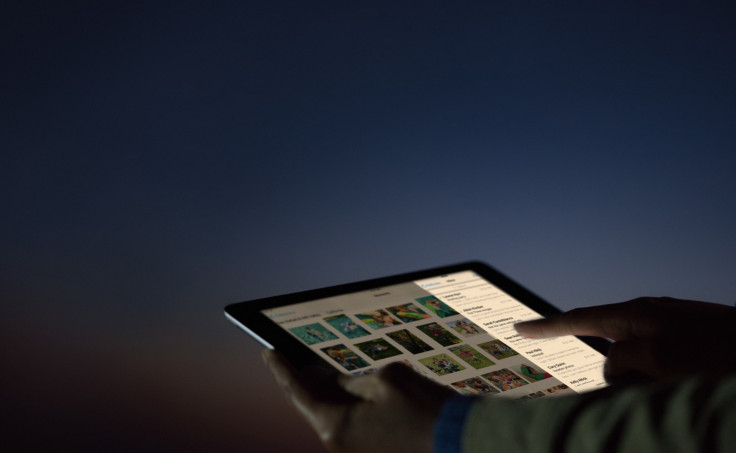
Night Shift Mode, a new feature Apple recently introduced with iOS 9.3, unfortunately turns off whenever it is used at the same time as Low Power Mode. Night Shift automatically tracks the time and your iOS device’s location to shift the display to warmer colors at sunset, and then back again to brighter cold colors at sunrise.
This makes using an iPhone or iPad much easier on the eyes at night. Apple even claims it can help prevent disruption caused by bright blue light to your “circadian rhythms.”
However, because of the way Apple implemented the feature, Night Shift is considered battery drainer and the feature is turned off whenever Low Power Mode is activated. Low Power Mode also turns off motion effects, moving wallpapers and background app refresh activity, and locks the screen while switching the display off much faster.
Night Shift is included because unlike most warm color shifter apps, Apple dynamically samples the display’s output to compensate for the shifting color balances of what is being shown. One redditor recommends watching an episode of South Park to be able to see the difference, but in short, Apple’s method avoids rendering a uniform static overlay.
Thankfully, if you’ve gotten used to Night Shift and can’t stand using your iPhone or iPad without it, even if you are perilously low on battery, there’s a no-jailbreak-required hack you can employ to get around Low Power Mode’s aversion to warm colors.
How To Turn Night Shift & Low Power Mode On At The Same Time:
- Turn Low Power Mode on by navigating to the Settings menu and then into the Battery sub menu option (Second to last option in the third cluster of options). Alternatively, just ask Siri.
- Hold down the home button to call up Siri and ask her to turn Night Shift mode on.
- When Siri says she will need to turn Low Power Mode off, say yes but lock your iPhone or iPad while Siri is still processing what you said. When you unlock your iOS device, both modes should be enabled.
If you’re still confused or it’s not working, watch the video below by 9To5Mac for a visual step-by-step guide.


